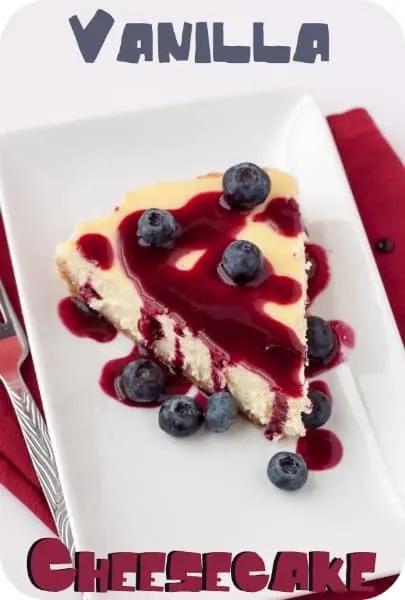
I’ve told you guys before about my love for cheesecake, especially vanilla cheesecake with some kind of fruit sauce on it. I’ve also mentioned my family’s dislike of it. That usually means I do not get much cheesecake in my life because I just can’t have a dessert sitting around that is JUST for me. Right? My normal cheesecake recipe makes enough for an 8-9 inch springform pan. That is enough for a large army when you are talking cheesecake. This one is made in a pie plate and is half as big as my normal sized cake, which is perfect to make once in a while. I can have a couple pieces. I can give a few away. Win win!
I also really really like the pie plate method because it make water bathing the cheesecake foolproof. I don’t know if it is my pan or my wrapping technique, but whenever I have tried to water bath in my springform I end up with leaks, which ruins the bottom portion of the cheesecake. Not fun. So I bake the big version in a springform with a pan of boiling water directly underneath it. It isn’t quite the same effect of a true water bath, but it keeps the oven moist enough to usually prevent cracking.
Start this cheesecake like you would any other, by prepping your crust. Melt your butter and mix in with the graham cracker crumbs. You can also use oreo cookie crumbs. Nilla wafers. Chocolate graham crackers. Whatever you like the best.
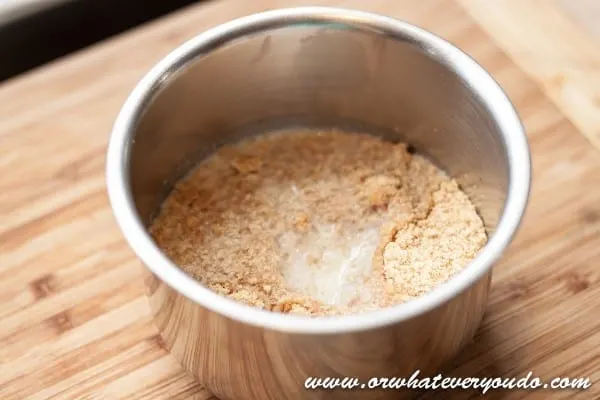
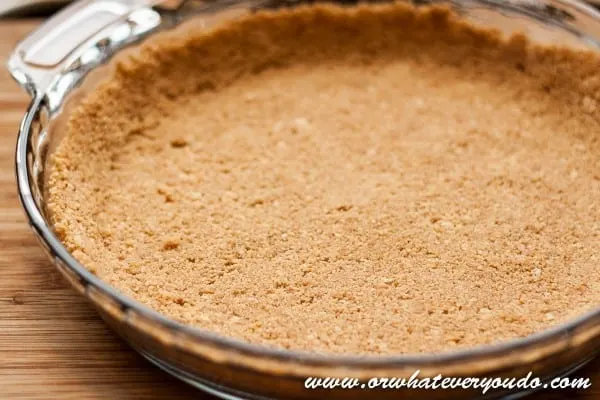
Press the buttery crumbs into your pie plate well with the bottom of a glass. I used the bottom of the metal mixing bowl pictured above. The rounded bottom worked really really well for getting the crust nice and tightly pressed up the sides of the pie plate.
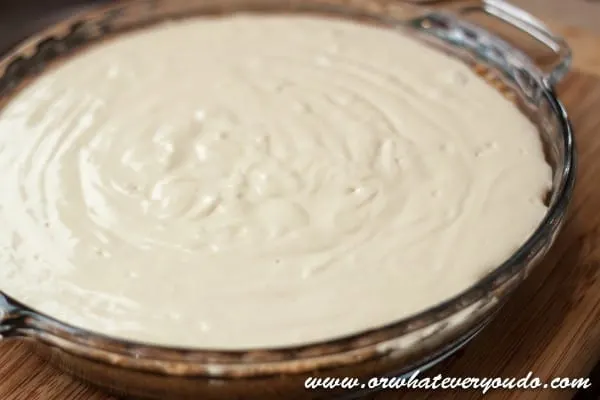
Next mix up your cheesecake batter. The key to a good textured cheesecake is to work the cream cheese as little as possible. Start with room temperature cream cheese. Mix it with the sugar until they are fully incorporated. Then add in the sour cream, heavy cream, flour, vanilla, and lemon juice. Mix until combined, and add in the eggs last. Do NOT overmix after the eggs are added. You want them just barely combined. When I use my stand mixer I add the eggs and then pulse it 2 or 3 times. That, combined with the gentle mixing that will happen when you scrape the batter out of the bowl will be enough to combine it well.
Pour your batter into the prepared crust and tap the bottom on your counter to get some of the bubbles out.

Place the cheesecake into a large 10×13 inch pan, and carefully pour in some boiling water around it (I set this on my oven rack first so I don’t have to move the whole thing filled with boiling water from the counter to the oven, yikes!) I fill it until it is about 3/4 of the way up the pie plate. Bake at 325 degrees for about an hour, to an hour and 15 minutes. The middle will still be slightly jiggly when you take it out. It will finish as the cheesecake sets.
Let the cheesecake cool on the counter for an hour, and then chill in the fridge for at least 3-4 hours before serving. Overnight is better, but 3-4 hours should be sufficient to get it all the way chilled.
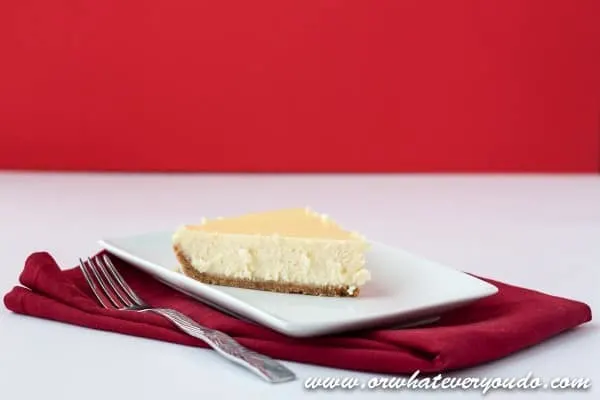
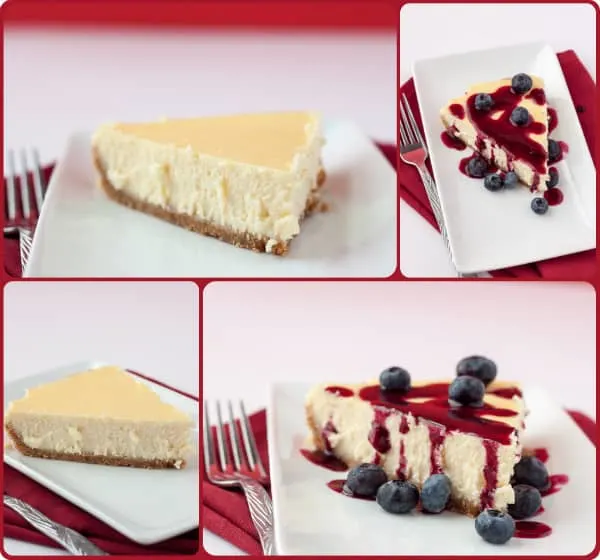
Serve it with fresh berries, or make a fresh berry syrup to top it with. Pictured below is my blueberry syrup, adapted slightly by adding a few tablespoons of Meyer lemon juice, pressing it through a fine strainer to get rid of the blueberry skins, and thickening slightly with 1 tsp of cornstarch slurry.
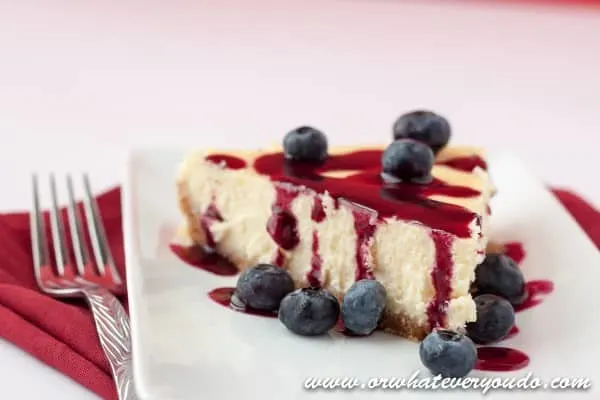
I love the texture and flavor of this cheesecake. It is so smooth and rich.
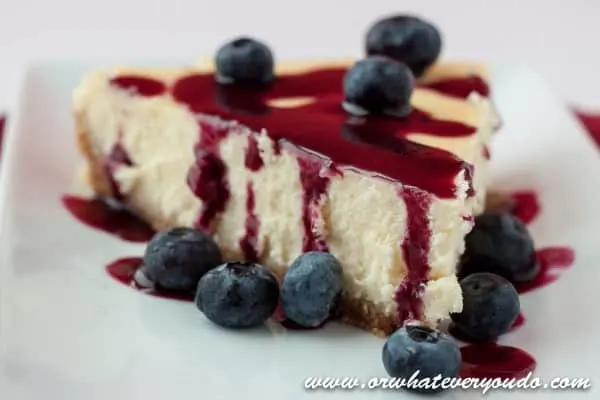
Vanilla Cheesecake
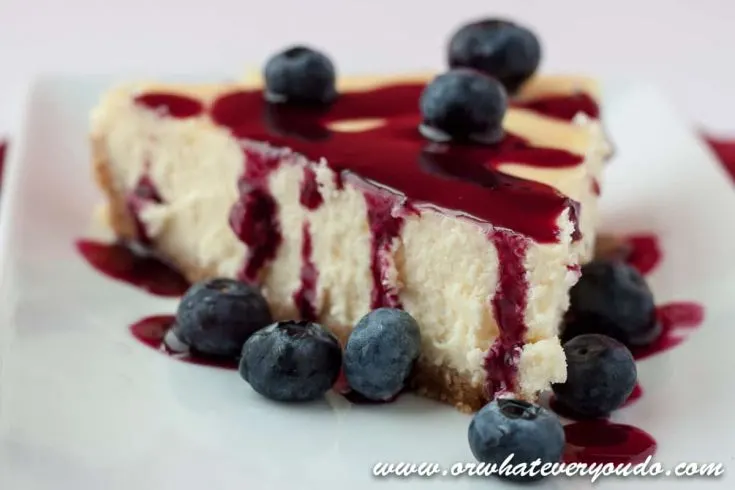
Smooth, creamy, delicious New York style cheesecake with a tender graham cracker crust, and perfect for a small gathering!
Ingredients
- 7 graham crackers, crushed
- 3 TBSP butter, melted
- 2 - 8 oz packages cream cheese, room temperature
- 3/4 cup white sugar
- 2 TBSP heavy cream
- 1/2 cup sour cream
- 1 1/2 TBSP vanilla extract
- 2 TBSP flour
- 2 TBSP lemon juice
- 2 eggs
Instructions
- Preheat oven to 325 degrees and set a pot of water on to boil.
- Mix melted butter and graham cracker crumbs together well. Press into an 8 inch pie plate.
- Mix cream cheese and sugar for 1 minute on medium, or until well combined. Add in heavy cream, sour cream, vanilla, flour, and lemon juice. Mix an additional minute. Add in eggs and pulse 2-3 times. Finish mixing in the eggs by hand until the whites are incorporated. Do not overmix!
- Pour cheesecake batter into prepared crust. Place a large high sided pan into the oven (10x13 is ideal) and place your cheesecake inside it. Pour boiling water into the larger pan until it is 3/4 up the side of your pie plate. Bake at 325 for 60-75 minutes, or until the sides are mostly set and the middle is still slightly jiggly. Remove from the water bath and cool on the counter for 1 hour before moving to the fridge to finish chilling for a minimum of 3-4 hours.
- Serve with fresh berries, berry sauce, or your favorite topping.
Nutrition Information:
Yield:
8Serving Size:
1Amount Per Serving: Calories: 439Total Fat: 31gSaturated Fat: 17gTrans Fat: 0gUnsaturated Fat: 10gCholesterol: 128mgSodium: 297mgCarbohydrates: 35gFiber: 1gSugar: 25gProtein: 7g
Nutrition data provided here is only an estimate. If you are tracking these things for medical purposes please consult an outside, trusted source. Thanks!

Sandra Gomez
Tuesday 17th of September 2013
Que bueno
Marcela Caminos
Sunday 15th of September 2013
mmm yummy!
Rosie @ Blueberry Kitchen
Monday 18th of March 2013
Oh yum, your cheesecake looks so good!
Simon
Monday 18th of March 2013
Looks delicious but a Compote is a cooked fruit stew served cold where as yours is a coulis with fresh blueberries.
Simon Reynolds
Monday 18th of March 2013
Looks great but a "compote" is a cooked berry stew then served cold not a coulis or raw blueberries as in your photo...still looks very tasty :)