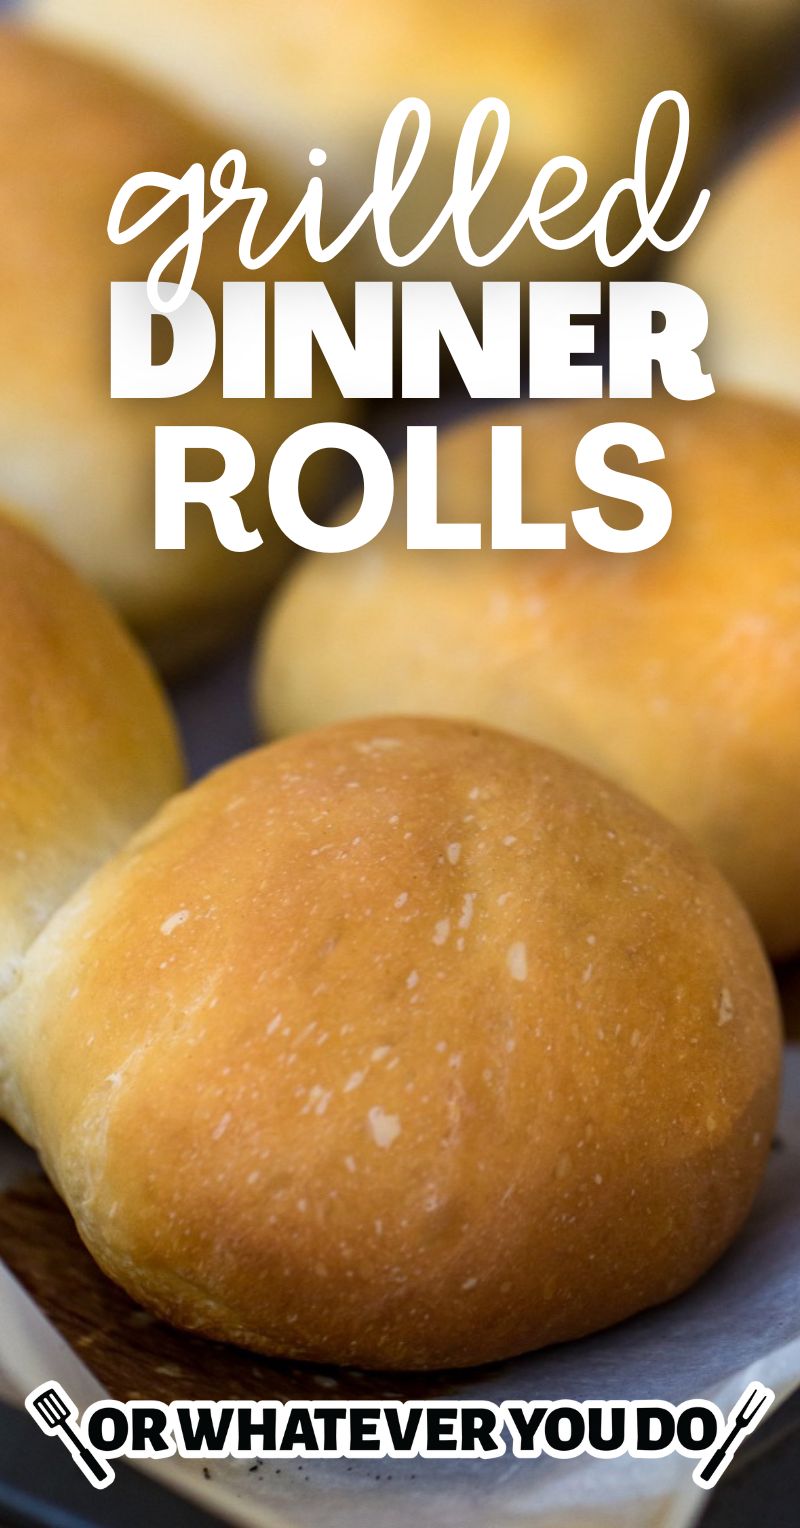
Grilled Dinner Rolls are baked on the pellet grill, get just a touch of live wood-fire flavor, and have the BEST crust. Read on for tips on making the best dinner rolls, and how to ensure your bottoms don’t burn.
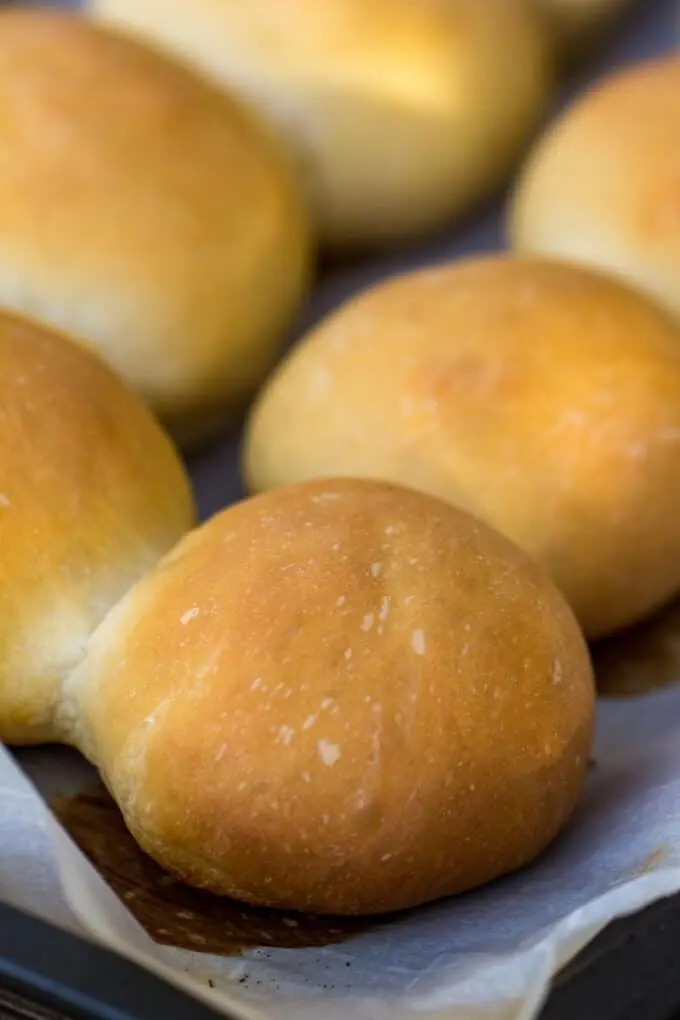
Dinner Rolls on the Pellet Grill
Homemade bread is an absolute treat. There is no reason to believe making homemade dinner rolls should be difficult, or even time-consuming.
Perhaps in the old days when everything had to be done by hand, but these days you can mix and knead your bread dough with a stand mixer. What might have taken an hour before can now take minutes.
Stand mixers are great for kneading dough. If you want a nice fluffy bread with a great crust, then you need to get those long chains of glutens formed, and those are created by the kneading process.
If you want a good work out and have time to spare, then have at it. There is definitely a zen like quality to kneading bread dough. It takes a LONG time though to hand knead for as long as it is necessary to make truly fluffy, tender, delicious rolls. When you think you’ve kneaded enough, just double it and that might be okay. I’m talking, 20-30 minutes of hard kneading, minimum, which is why I prefer the stand mixer x1000.
This recipe is a simple twist on my super fluffy and light Milk Bread Dinner Rolls. All you do differently is cook them on the grill.
More Easy Traeger Recipes here!
Grilled Dinner Rolls shopping list
Wondering if you have to hit the store? Here’s the list of items you’ll need to make this recipe. For specific amounts, please refer to the printable recipe card at the bottom of the post.
- Milk
- Yeast
- Salt
- Sugar
- Oil
- Buttermilk powder
- Flour
Serve with some Chicken Corn Soup!

Tips For Perfect Dinner Rolls On The Grill
Use Your Pellet Grill
Personally, I prefer to make these on the pellet grill. The nice even heat and precise temperature controls make it basically like a big live-fire outdoor oven. That means you can leave your oven open for other dishes, or have fresh rolls in the summer without heating up your house, or just enjoy the outdoors while also making amazing bread. Pick your pleasure.
Create Some Space
Even on a pellet grill, it isn’t unheard of for the bottoms of the rolls to cook faster than the tops. To counteract that, you want to make sure you are using a thick baking sheet, and watch them.
Use a Thick-Bottomed Pan
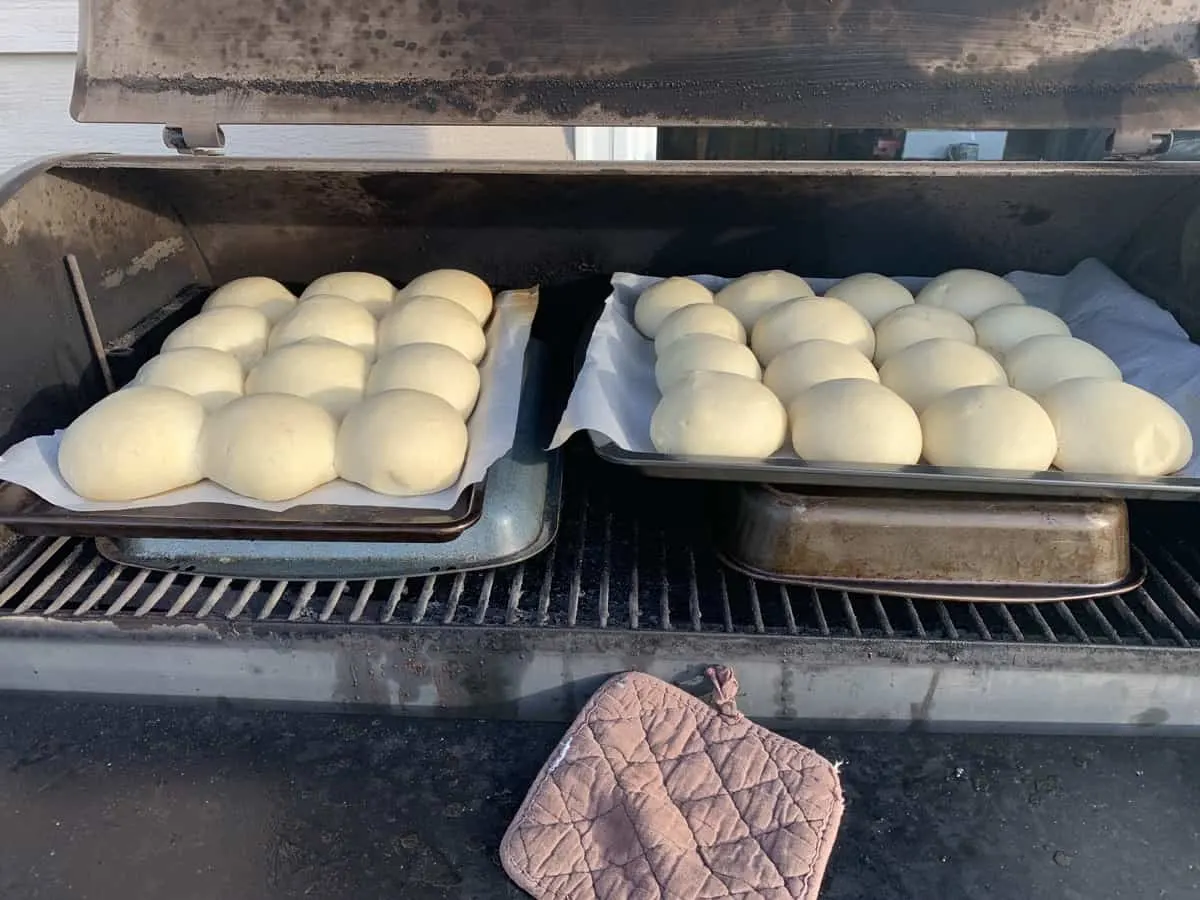
I made so many rolls, I didn’t have enough of my thick pans and had to use some thinner cookie sheets. That caused some uneven browning to happen. I solved it by turning a couple of 9×13 cake pans upside down on the grill and then put the cookie sheets with the rolls on top. It gave the pans a little more distance from the hottest part of the grill and ensured my tops could finish before the bottoms burned.
Tips For Cooking On A Charcoal Or Gas Grill
If you want to make these on a charcoal or gas grill, you need to make sure you can get a nice even heat in the grill. You don’t want the rolls over direct flames. A nice glow of coals with even heat is best. You want it to be more like an oven and less like a bonfire to roast marshmallows on.
The pan trick above might help out in that circumstance too!
You may have to check them once or twice to make sure they are not cooking too quickly on the outside. I suggest starting with a few and making sure you have a good even temperature of about 375°.
Leave space between the rolls
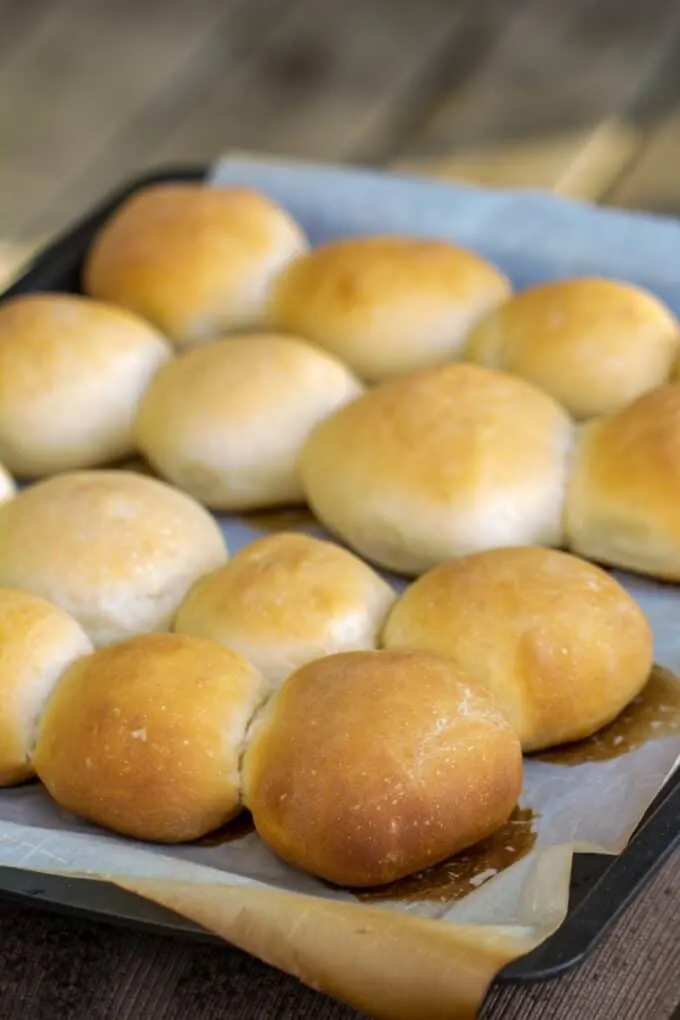
Make sure to space the rolls so they have room to grow. Homemade rolls expand even after the 2nd rise, and the end result is much different if they wind up touching than if they are a bit more spaced out. One of my favorite things about making homemade bread is watching the bread rise and expand.
Brush with butter when they come out of the oven
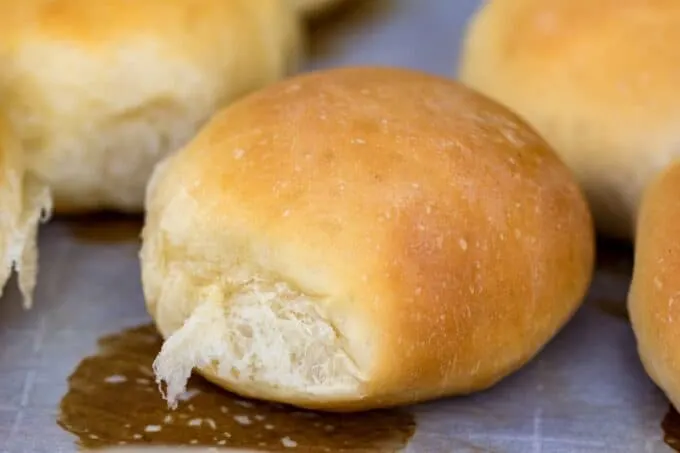
Remember to brush some butter over the top when they are fresh out of the oven. You get a nice shiny top and add just a hint of buttery flavor.
How to Store Your Dinner Rolls
We hardly ever have “extra” rolls around here, no matter how many I make. If we don’t eat them for dinner that night then the kids eat them with jam the next morning for breakfast, or with lunch meat for their lunch, or just plain as they run out the door for school. They NEVER last long.
If you do have to store them for a day or two, just toss them in a giant ziplock bag and make sure it gets sealed up well.
Get my easy Side Dish recipes!
Serve These With…
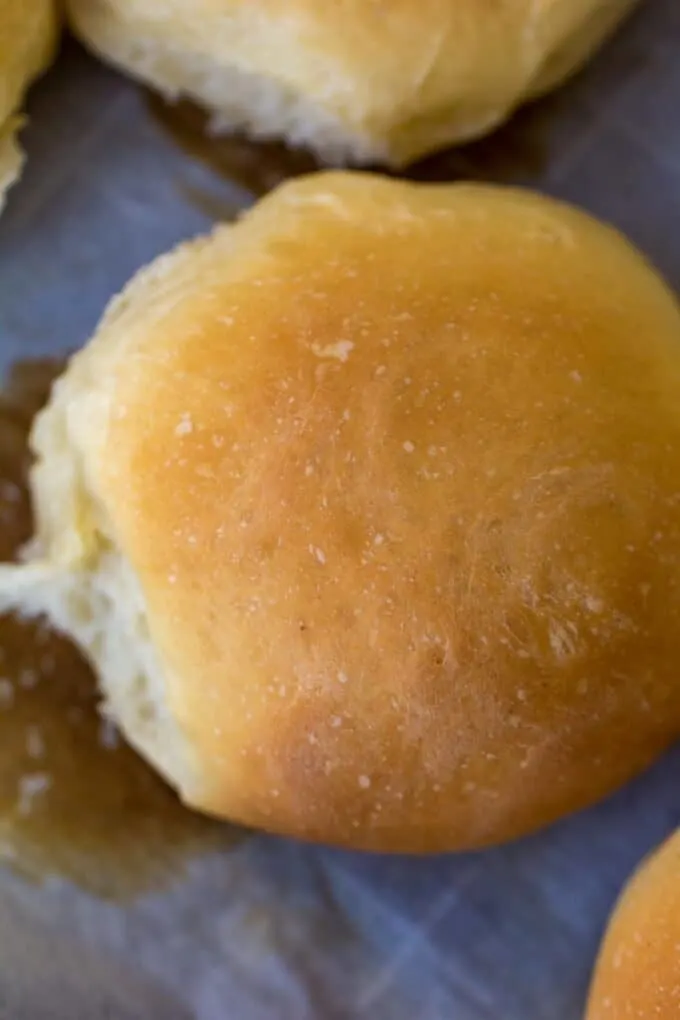
When you realize how easy these fluffy pillow dinner rolls are to make, you might find yourself making excuses to serve them with everything! I especially like serving them with meals that have a bit of sauce or gravy. These dinner rolls exist to sop up the delicious sauce on the plate.
They will save you from the embarrassment of picking up the plate and licking it.
Here are some great recipes that I would suggest serving nice hot grilled dinner rolls with:
- Homemade Turkey Noodle Soup
Of course a few nice hot grilled dinner rolls go perfectly with this homey old fashioned turkey soup recipe - Beef Stroganoff
The perfect way to mop up that amazing beef stroganoff gravy - Traeger Roast Beef Bowl
You have the grill fired up already for the rolls, bring on the beef! - Double-Smoked Ham
No holiday meal is complete without ham, and these rolls make the best side for that meal. And for ham sandwiches the next day too.
Traeger Grilled Milk Rolls
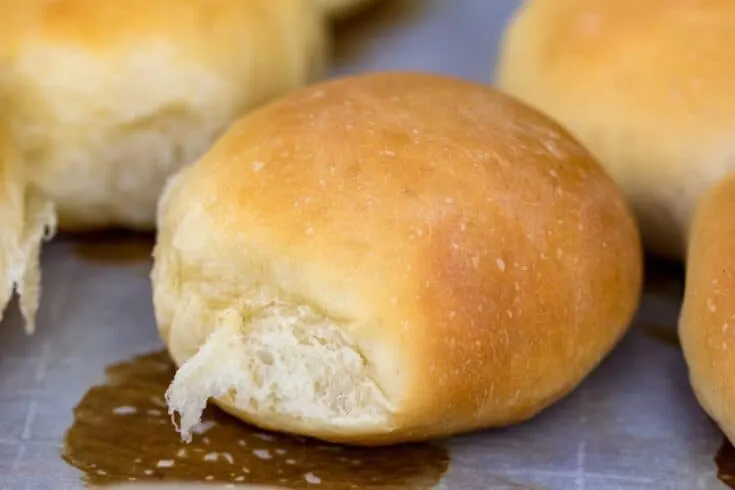
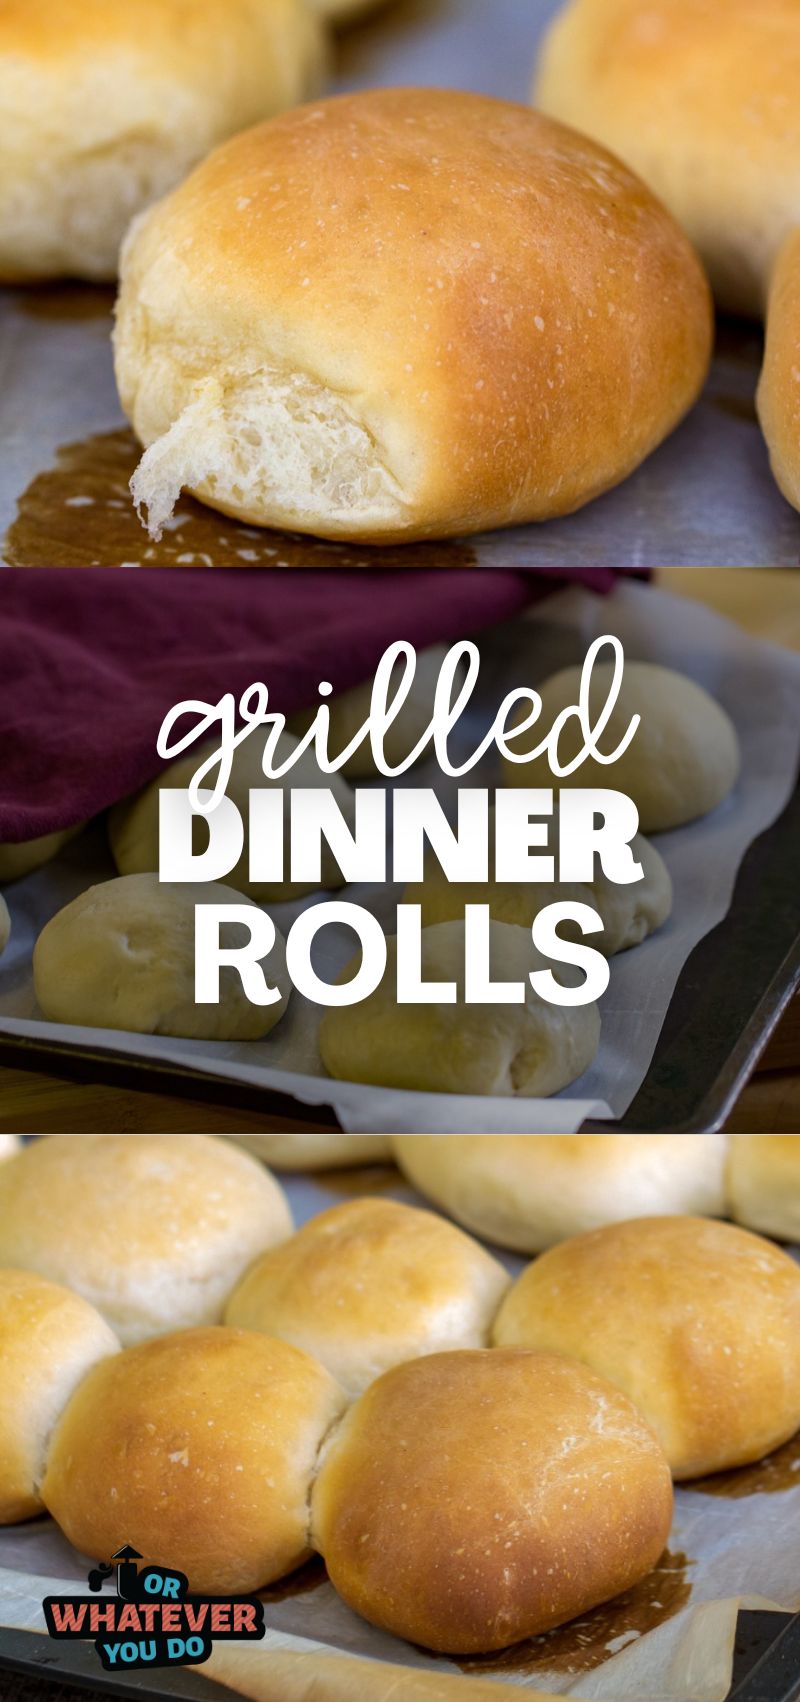
These tender, delicious, homemade milk rolls are made with milk instead of water to make them extra rich! Then they are cooked on the grill for one of the best rolls you will ever have. Ever.
Ingredients
- 4 cups milk
- 4 teaspoons yeast
- 1.5 tablespoon salt
- 3/4 cup sugar
- 1 1/4 cup oil (or melted butter)
- 1/2 cup buttermilk powder
- 10 cups ish flour, APPROXIMATE AMOUNT
Instructions
- Heat milk until luke warm in short bursts in the microwave. Combine milk, yeast, salt, sugar, and oil in your mixer with the dough hook attached. Mix until the yeast is evenly distributed into the milk mixture.
- Mix together the buttermilk powder and flour. Start adding this to the milk while the mixer is running, and keep adding until dough has formed and is cleaning the sides of your mixer. (See notes for hand-kneading advice.)
- Knead on medium or high speed in your mixer for 5-10 additional minutes after the flour is incorporated. The dough should be soft, and very stretchy, and lose a lot of the stickiness.
- Put into an oiled bowl and cover with a towel. Let rise in a warm, draft-free place until doubled, about 1-2 hours. For best flavor, let rise in the fridge overnight.
- Punch down the dough, and form into individual rolls. Smooth the tops by folding the bottom onto itself and pinching to seal. Place onto a large baking sheet that's been lightly sprayed with cooking spray or lined with parchment paper. Let rise until doubled, about 1-2 hours (depending on if you let rise in the fridge overnight or not!)
- Bake at 350 on a preheated pellet grill until golden brown. Baking time will vary depending on roll spacing, how many pans you are baking at a time, and specific ovens. Watch carefully!
- Rub tops of rolls with butter when they come out of the oven.
Notes
- If you are kneading by hand, the dough will be slightly sticky. Keep adding small amounts of flour and knead until you can't knead anymore. For real - like 30 minutes. The dough should be soft and stretchy.
- Invert a 10x13 high-sided cake pan on the grill grates to create some additional separation between your rolls and the heat source to prevent over-browning/burning of the roll bottoms.
Recommended Products
As an Amazon Associate and member of other affiliate programs, I earn from qualifying purchases.
Nutrition Information:
Yield:
24Serving Size:
1Amount Per Serving: Calories: 350Total Fat: 13gSaturated Fat: 1gTrans Fat: 0gUnsaturated Fat: 11gCholesterol: 5mgSodium: 432mgCarbohydrates: 50gFiber: 2gSugar: 8gProtein: 8g
Nutrition data provided here is only an estimate. If you are tracking these things for medical purposes please consult an outside, trusted source. Thanks!

